

If you’re building a website where images play a central role in the design, you might want to include a gallery at some point. That’s where the Divi Gallery Module comes in. It allows you directly select images from your media library and display them in an organized structure. By default, you’re able to dynamically show each image’s title and caption too. However, if you’re looking to limit the amount of text that shows up in your design, you might want to slide down to reveal an image’s title and caption when hovering it. In this tutorial, we’ll show you exactly how to do that. You’ll be able to download the JSON file for free as well!
Let’s get to it.
Preview
Before we dive into the tutorial, let’s take a quick look at the outcome across different screen sizes.
Desktop
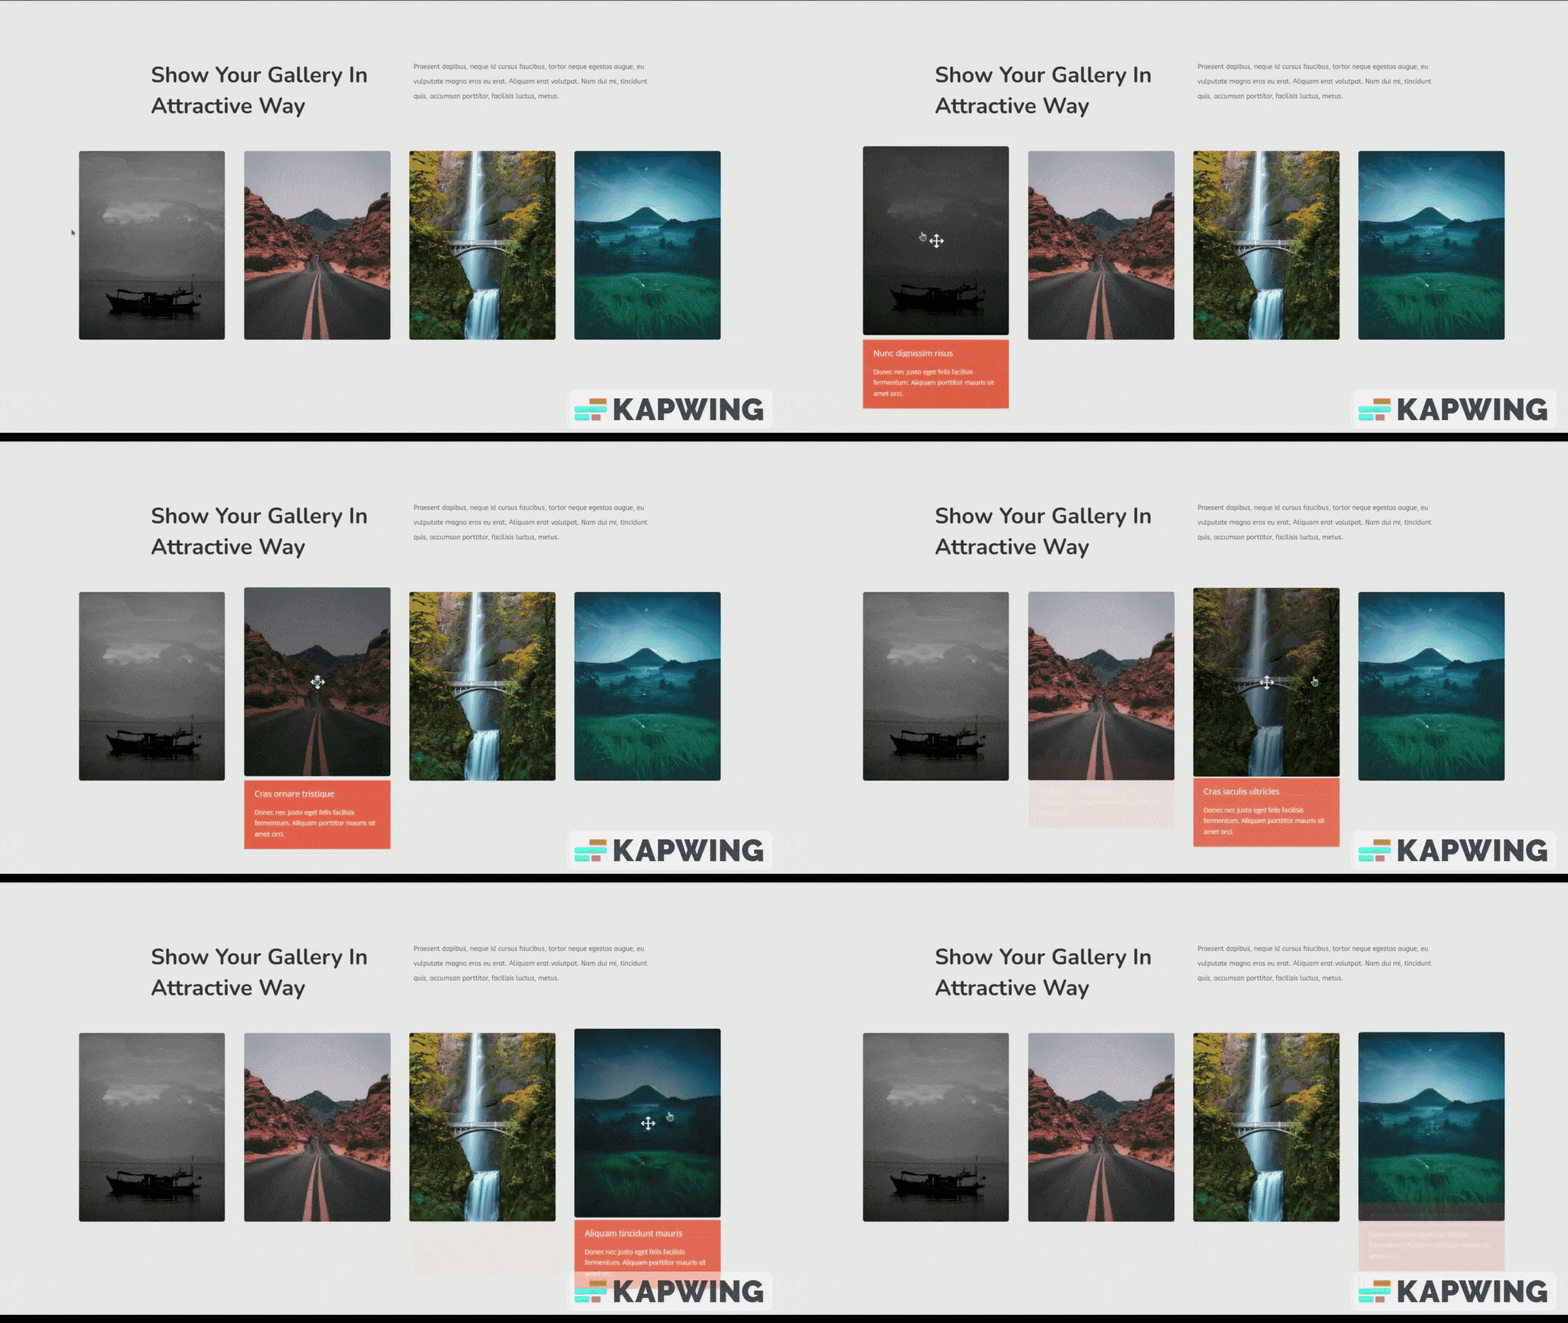
Mobile

1. Upload Images with Titles and Captions
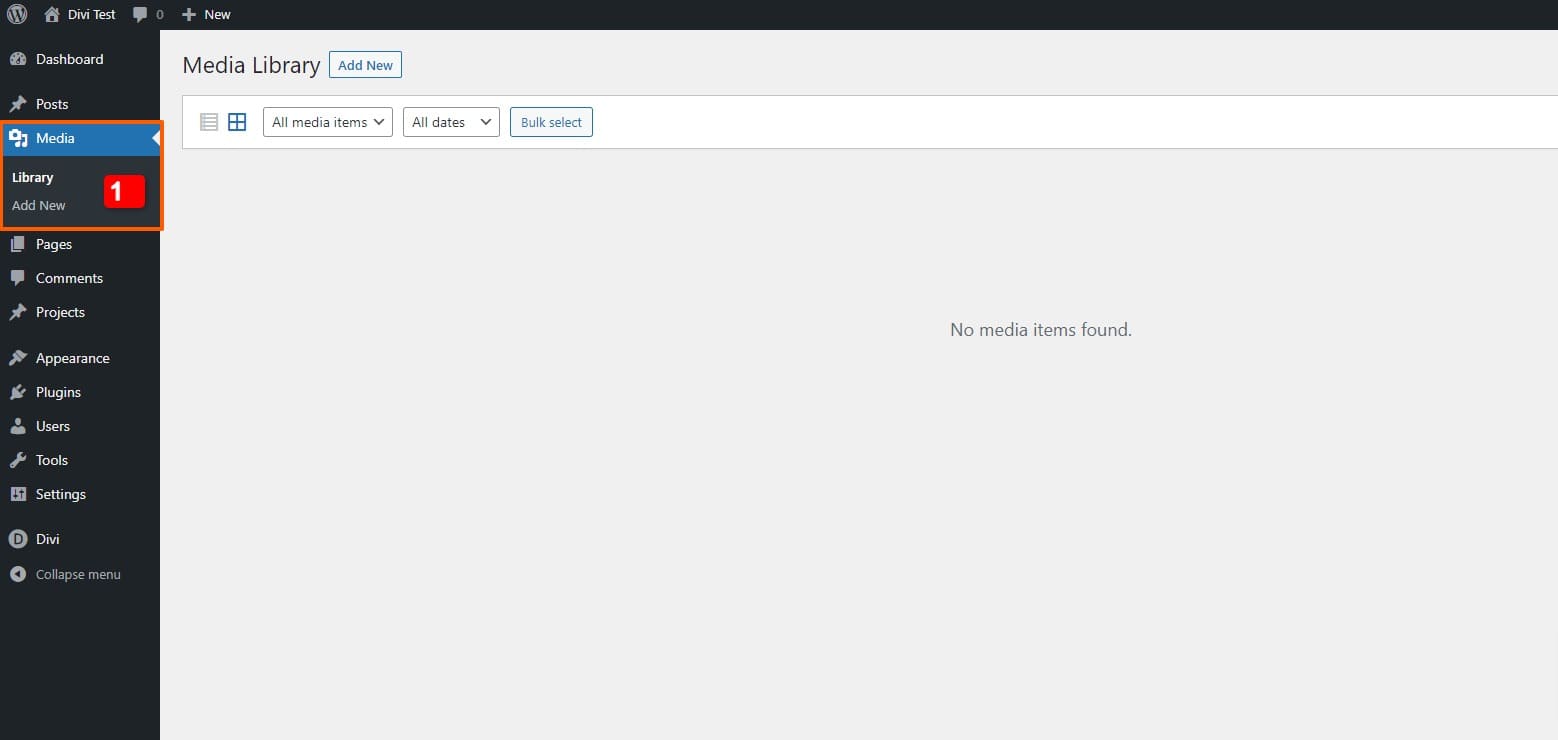
Go to Media Library
The first part of this tutorial focuses on adding the images with titles and captions inside your media library. To get there, navigate to your WordPress Dashboard > Media > Library.
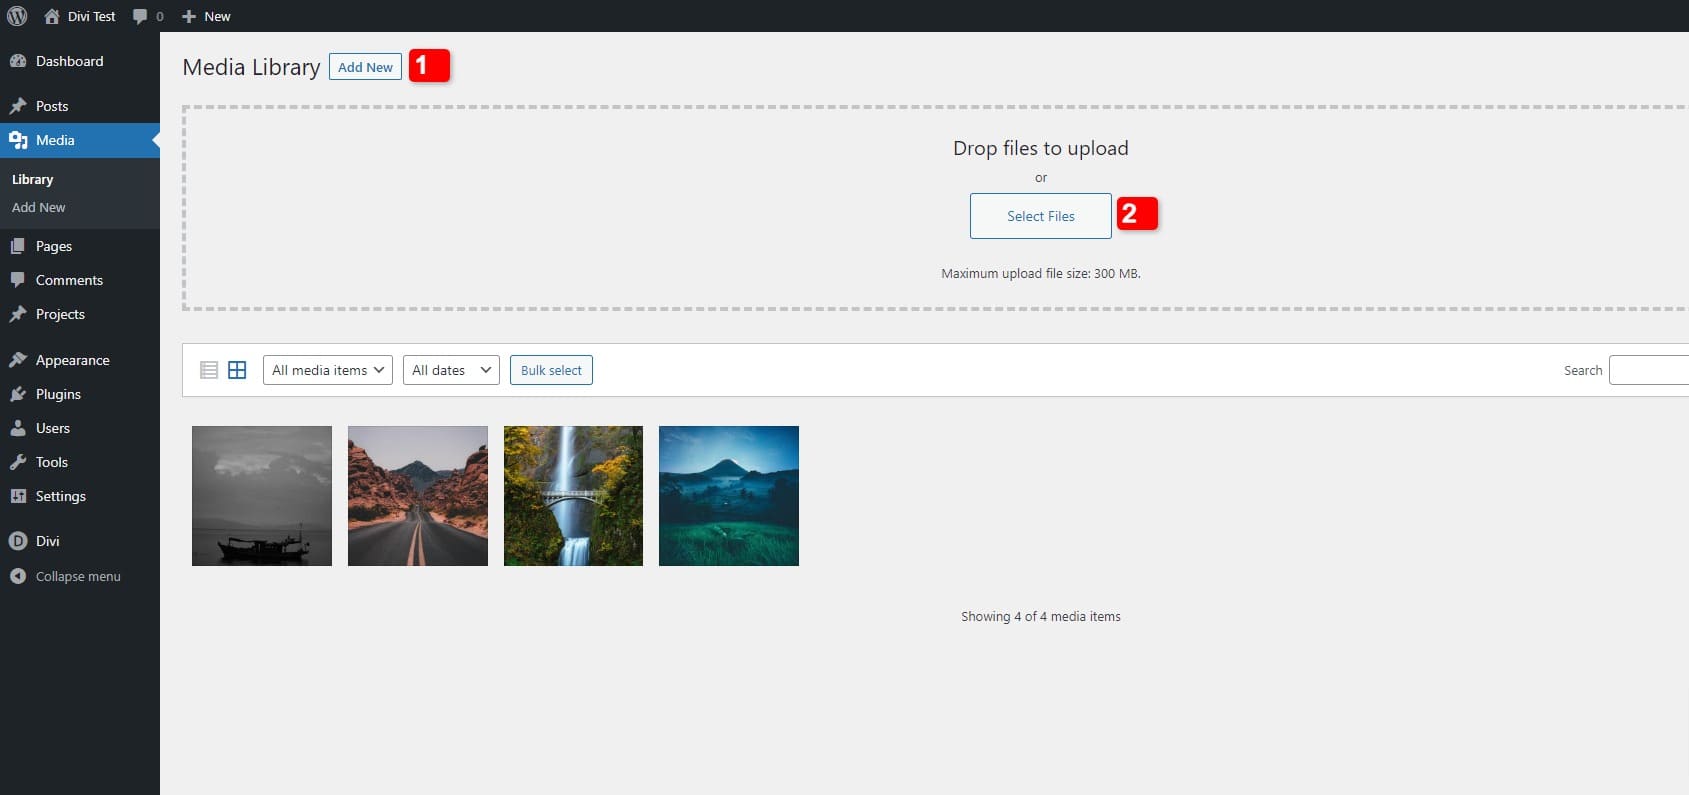
Upload Images
Once there, upload the images you want to include in your gallery.
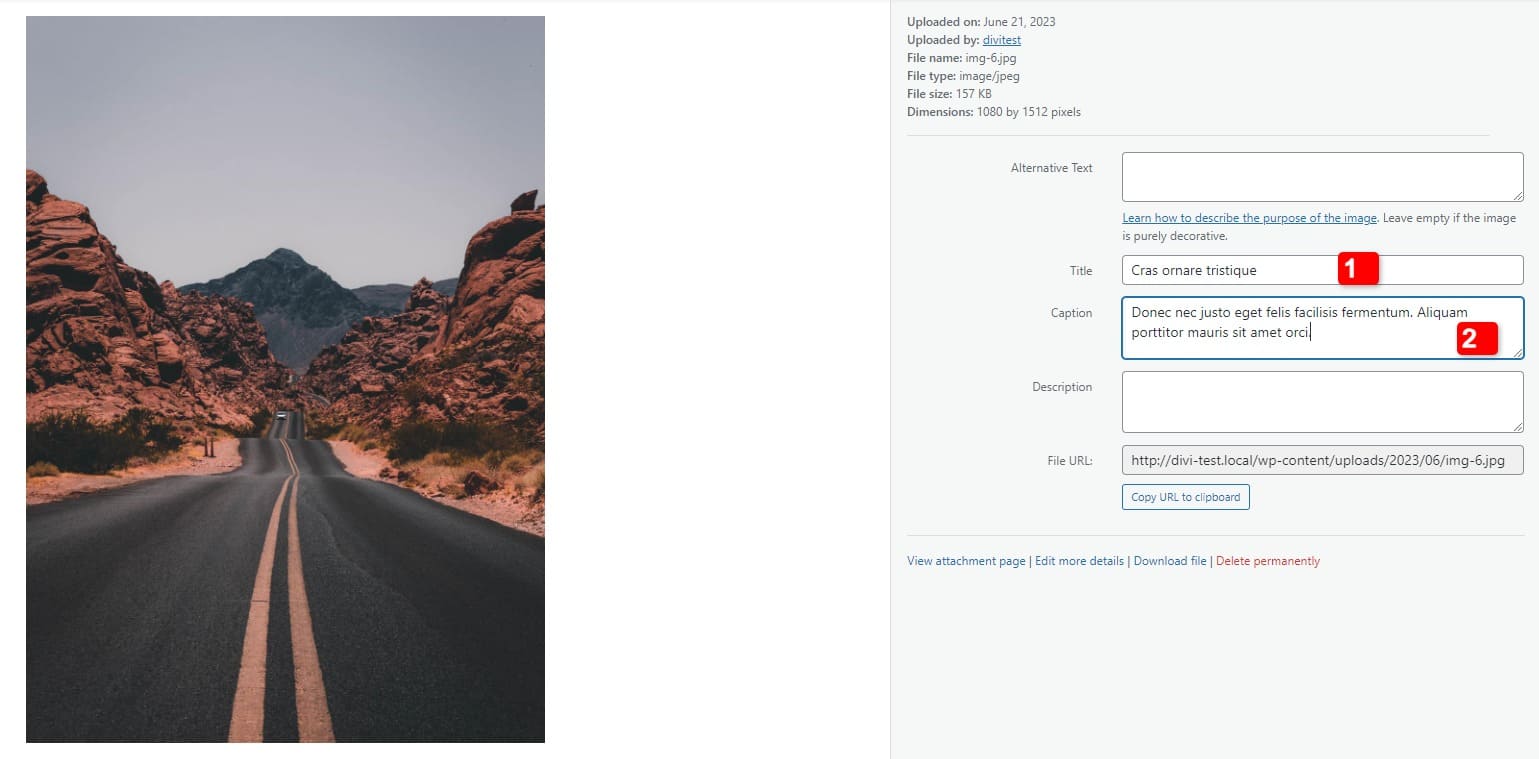
Add Titles & Captions
You’ll need to add a title and caption to each image individually. For the most optimal result, try to keep a similar text length for each image.
2. Create Design with Divi
Create a New Page or Open Existing One
Once your images have been upload, it’s time to build the design in Divi. Create a new page or open a new one and enable the Visual Builder at the top.

Add Row
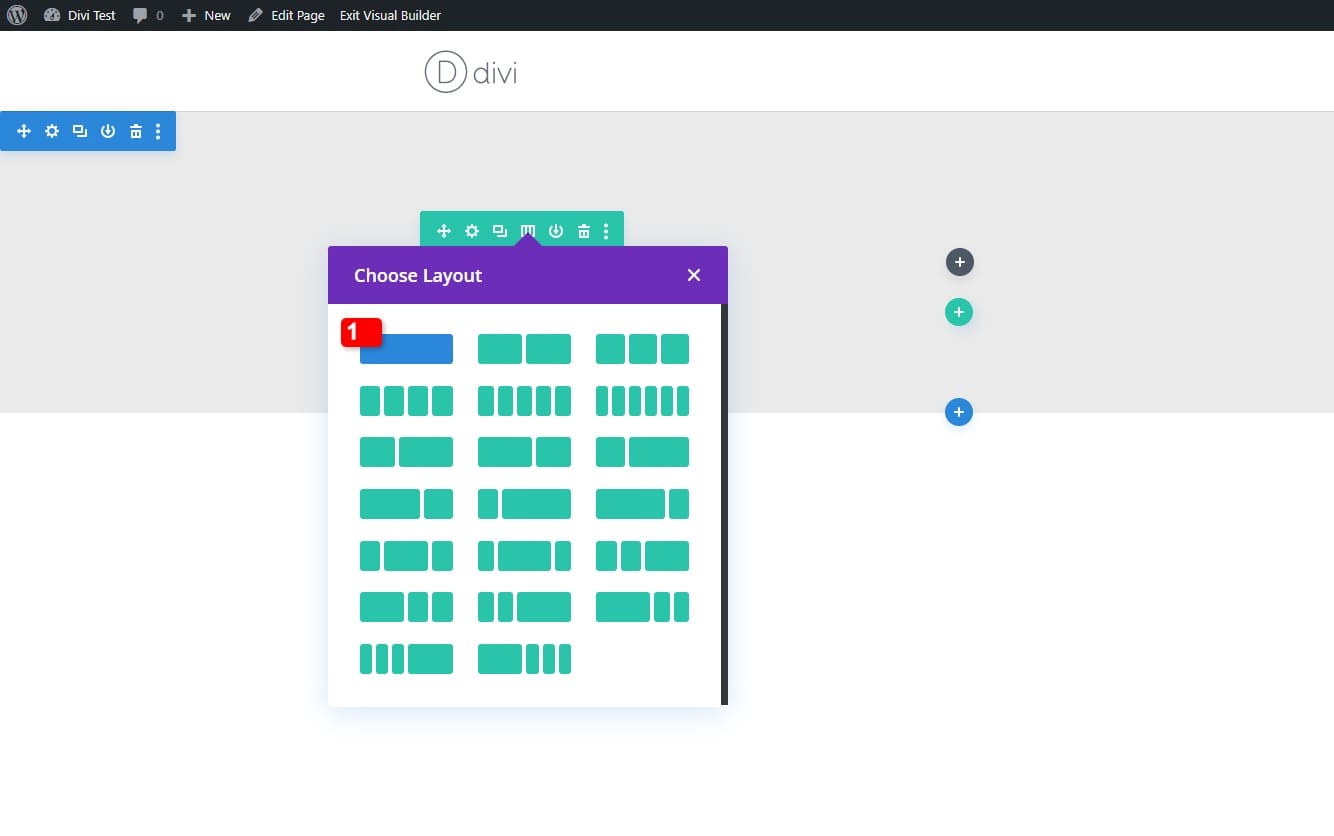
Column Structure
Continue by adding a new row to the section using the following column structure:
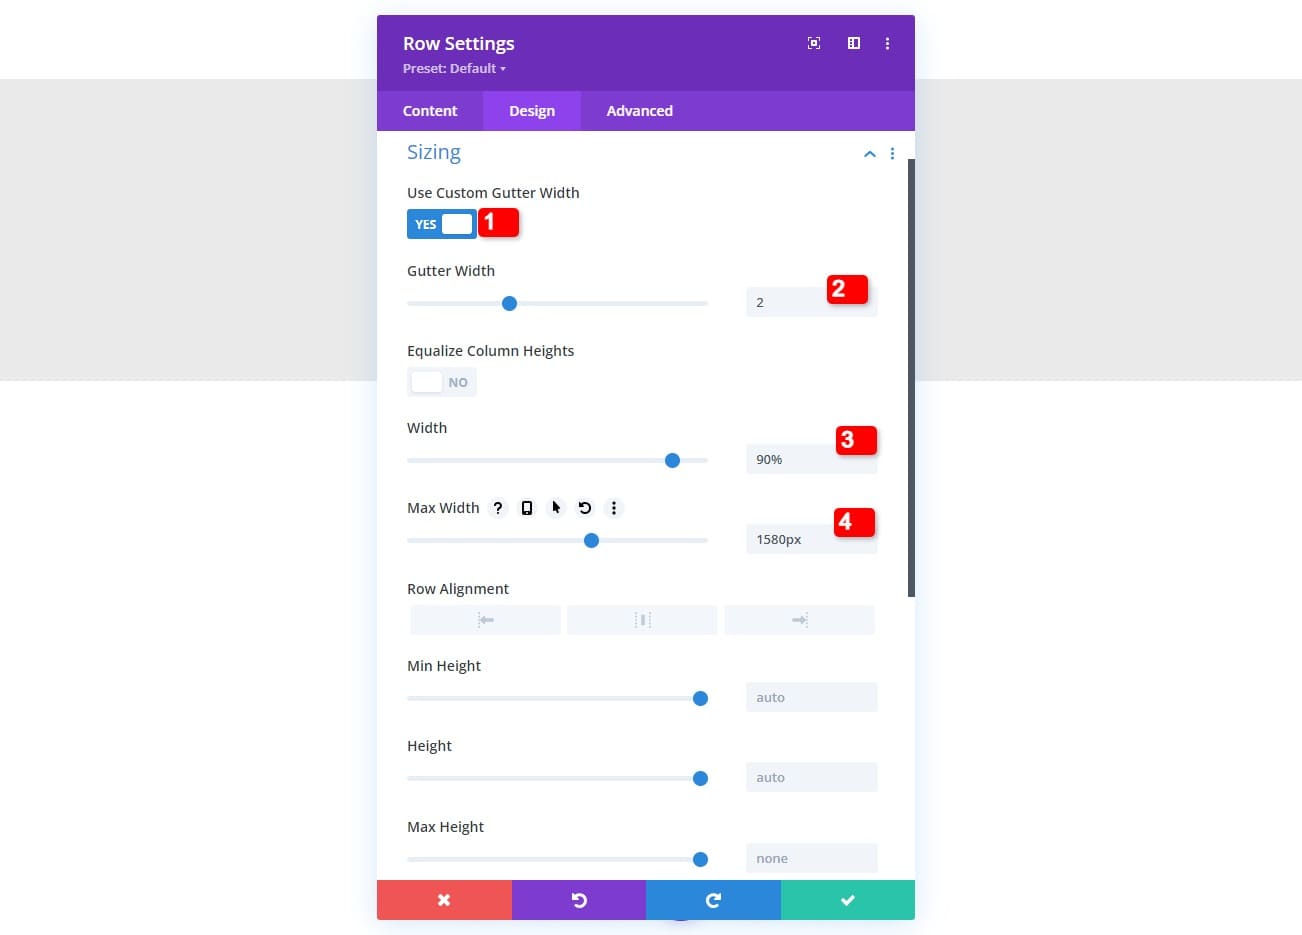
Sizing
Move on to the row’s sizing settings next and apply the following changes:
- Use Custom Gutter Width: Yes
- Gutter Width: 2
- Width: 90%
- Max Width: 1580px
Add Gallery Module to Column
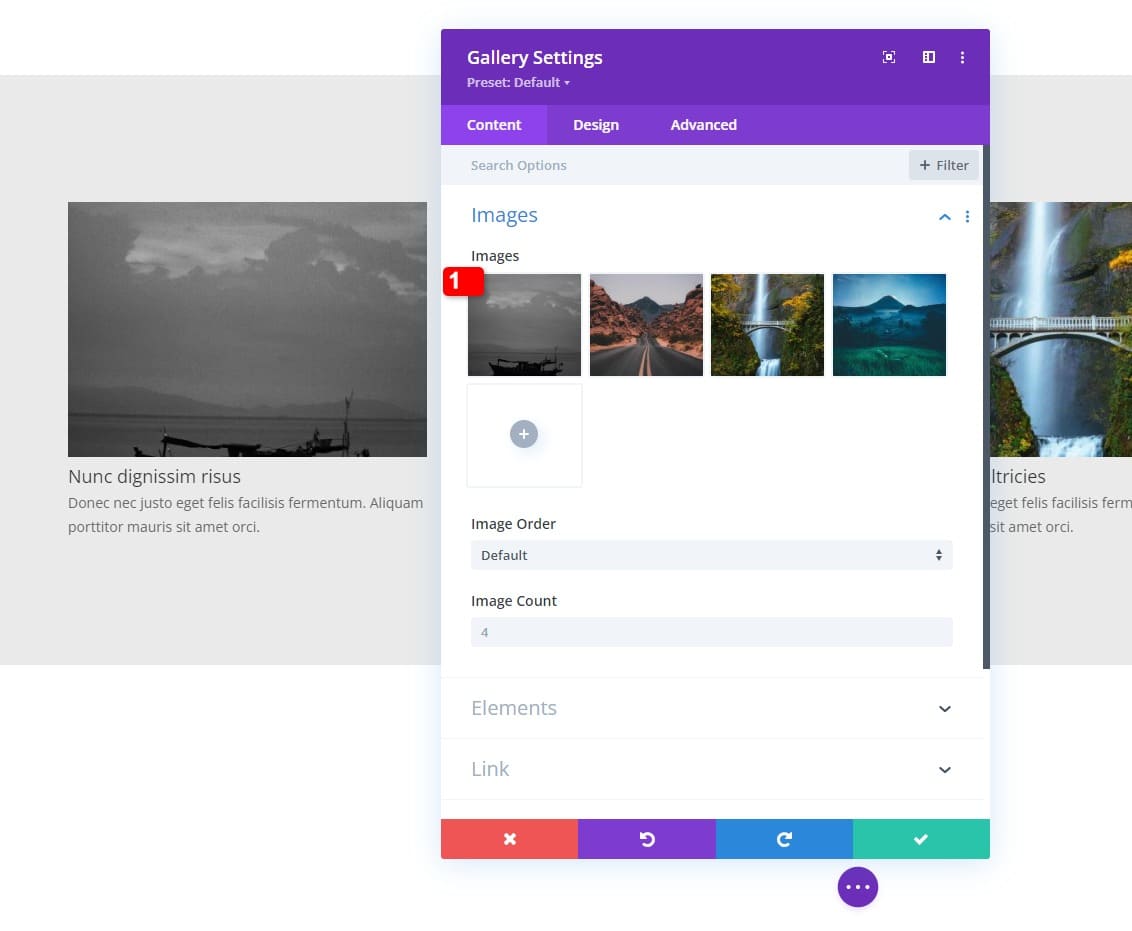
Select Uploaded Images
Time to add the images, using a Gallery Module! Select the images you’ve uploaded to your media library in the first part of this tutorial.
Elements
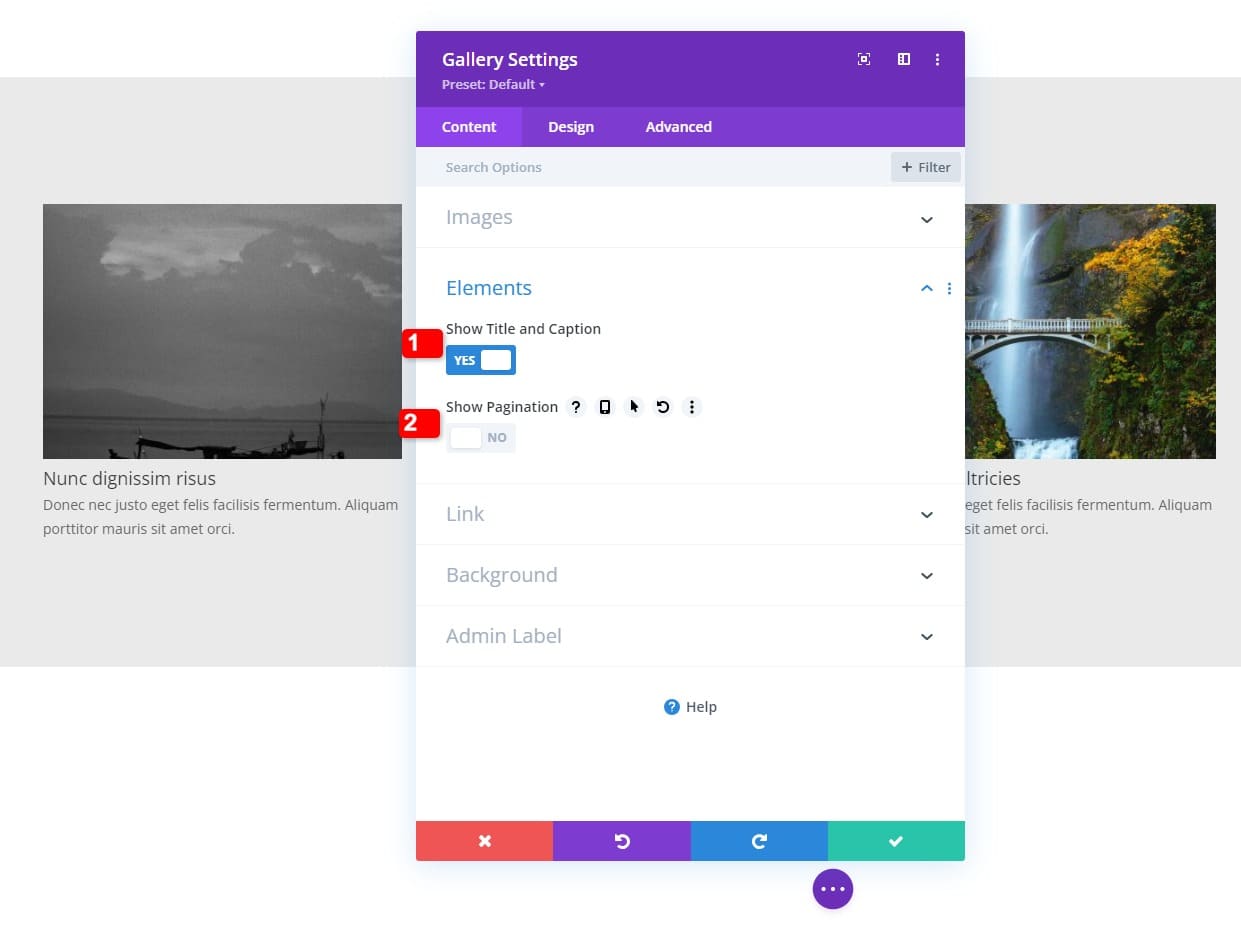
The hover effect only makes sense on desktop. On smaller screen sizes, there’s no hover, and touch will trigger a lightbox effect instead. For that reason, we’re only showing the title and caption on desktop, and we’re disabling them on smaller screen sizes. We’re also disabling pagination. You can find these options in the elements settings.
- Show Title and Caption
- Desktop: Yes
- Tablet & Phone: No
- Show Pagination: No
Layout
Move on to the module’s design tab and change the layout next.
- Layout: Grid
- Thumbnail Orientation: Portrait
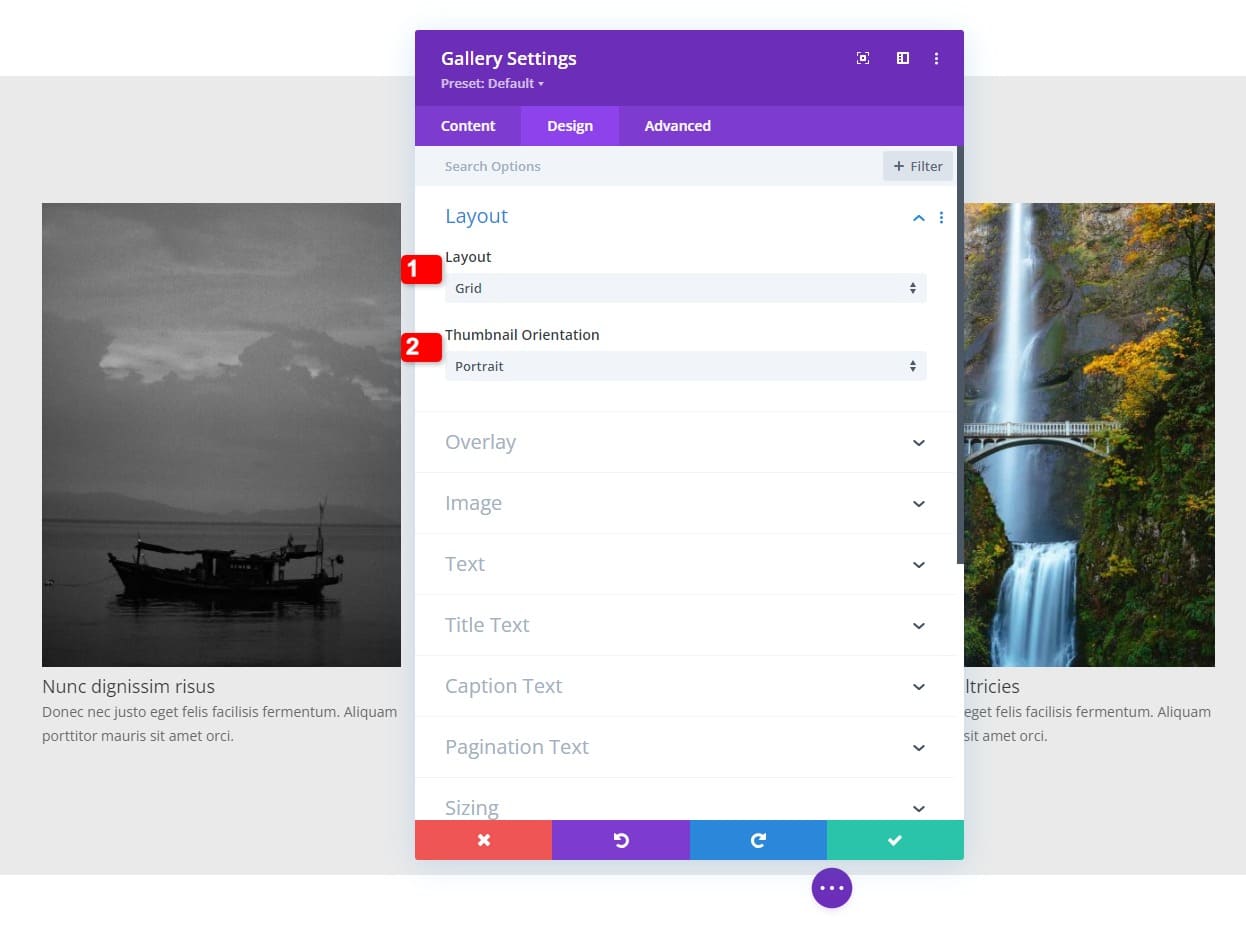
Overlay
We’re modifying the overlay settings too
- Overlay Icon Color: #ffffff
- Overlay Background Color: rgba(0,0,0,0.25)
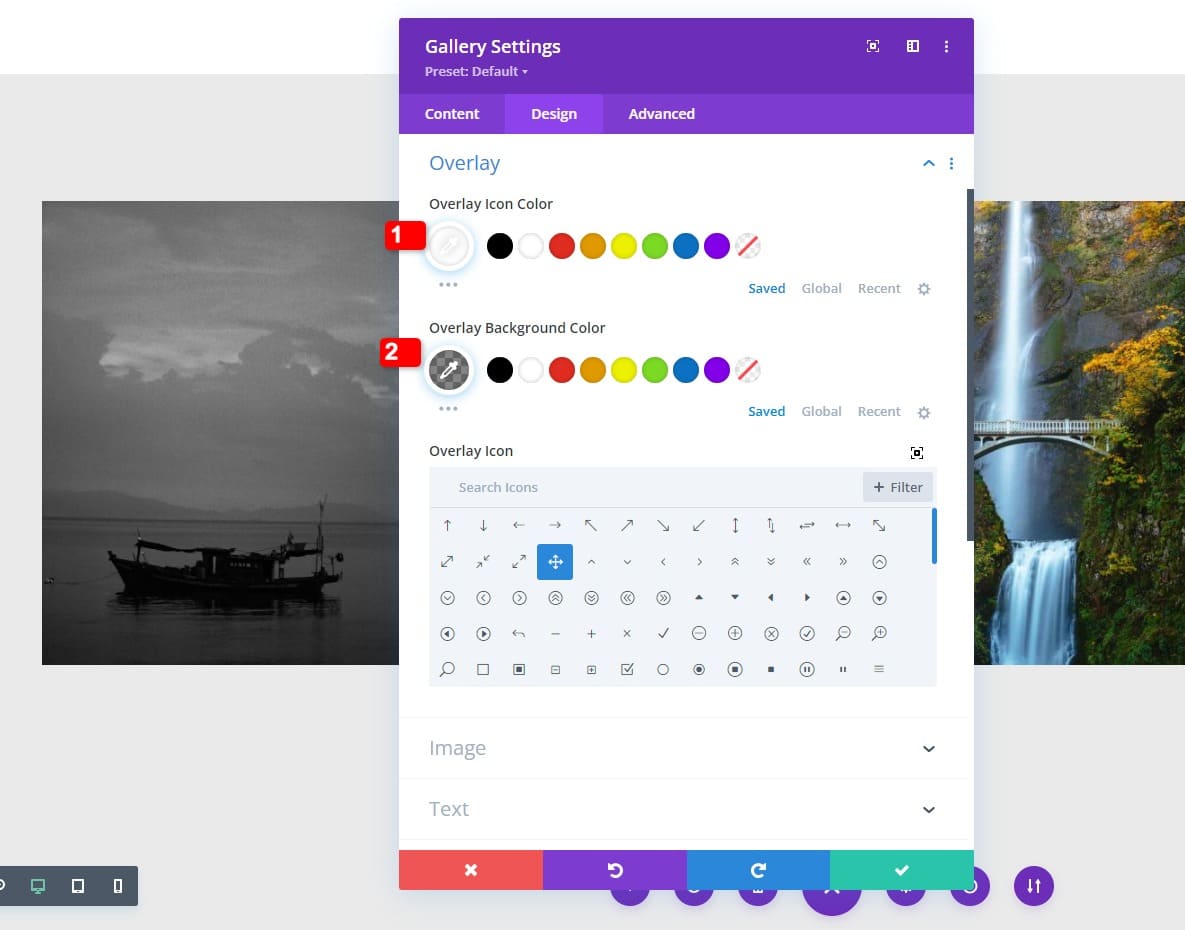
Gallery Item CSS
Then, we’ll move on to the advanced tab. Once there, we’ll add the following lines of CSS code to the gallery item title CSS box:
padding-top: 20px;
padding-left: 7%;
padding-right: 7%;
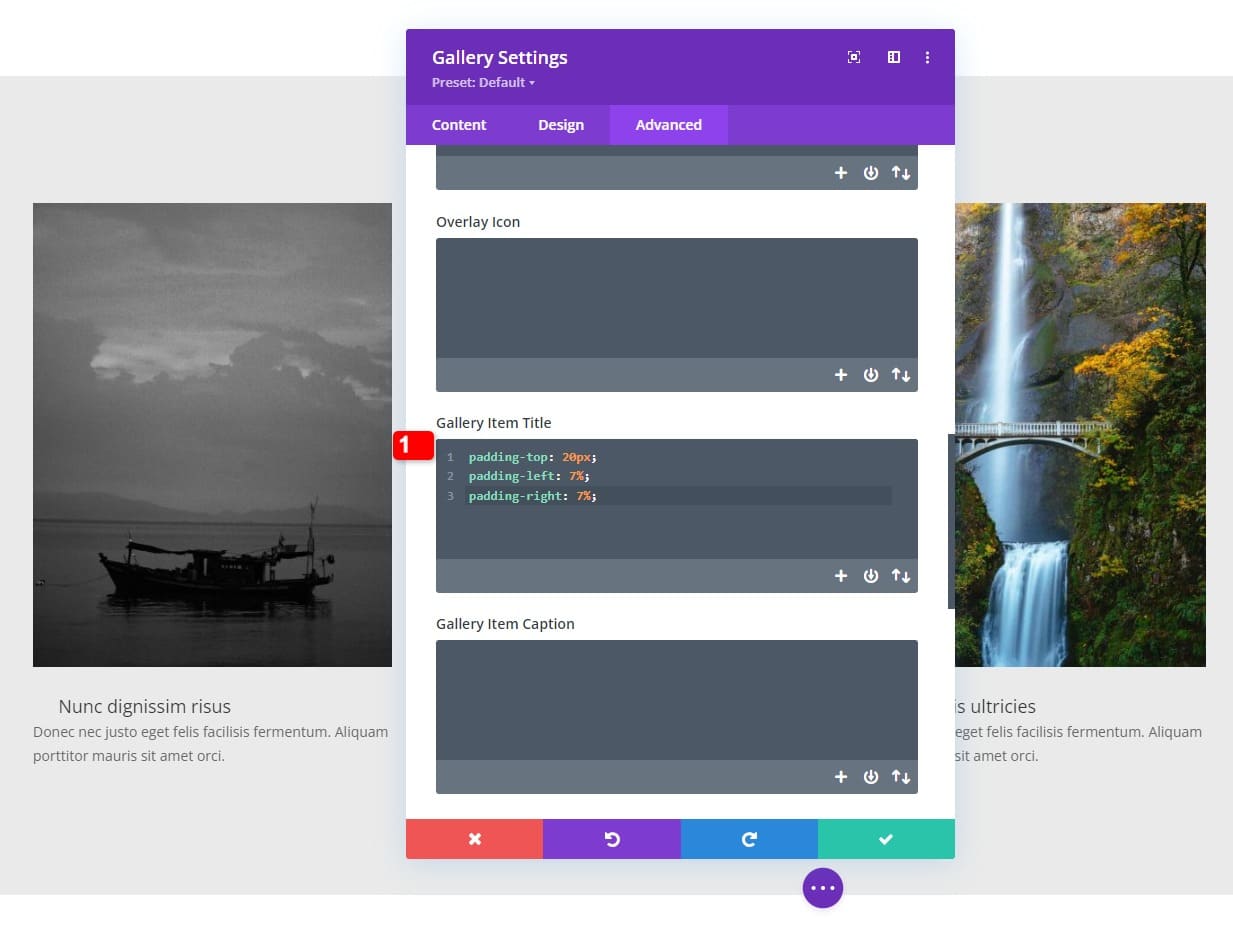
Gallery Item Caption CSS
And we’ll use these code lines inside the the gallery item caption CSS box:
padding-top: 20px;
padding-left: 7%;
padding-right: 7%;
padding-bottom: 20px;
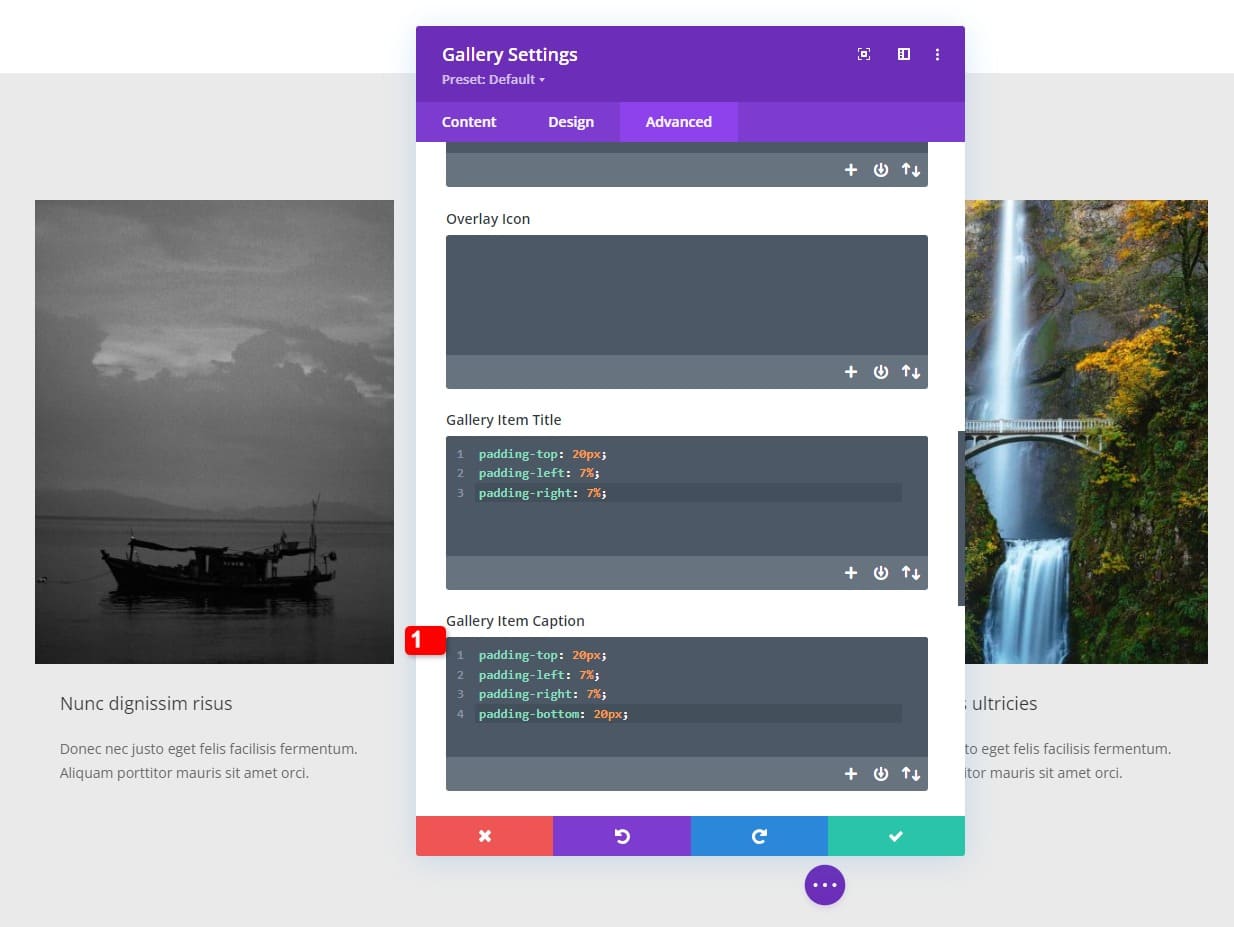
3. Apply Reveal Effect
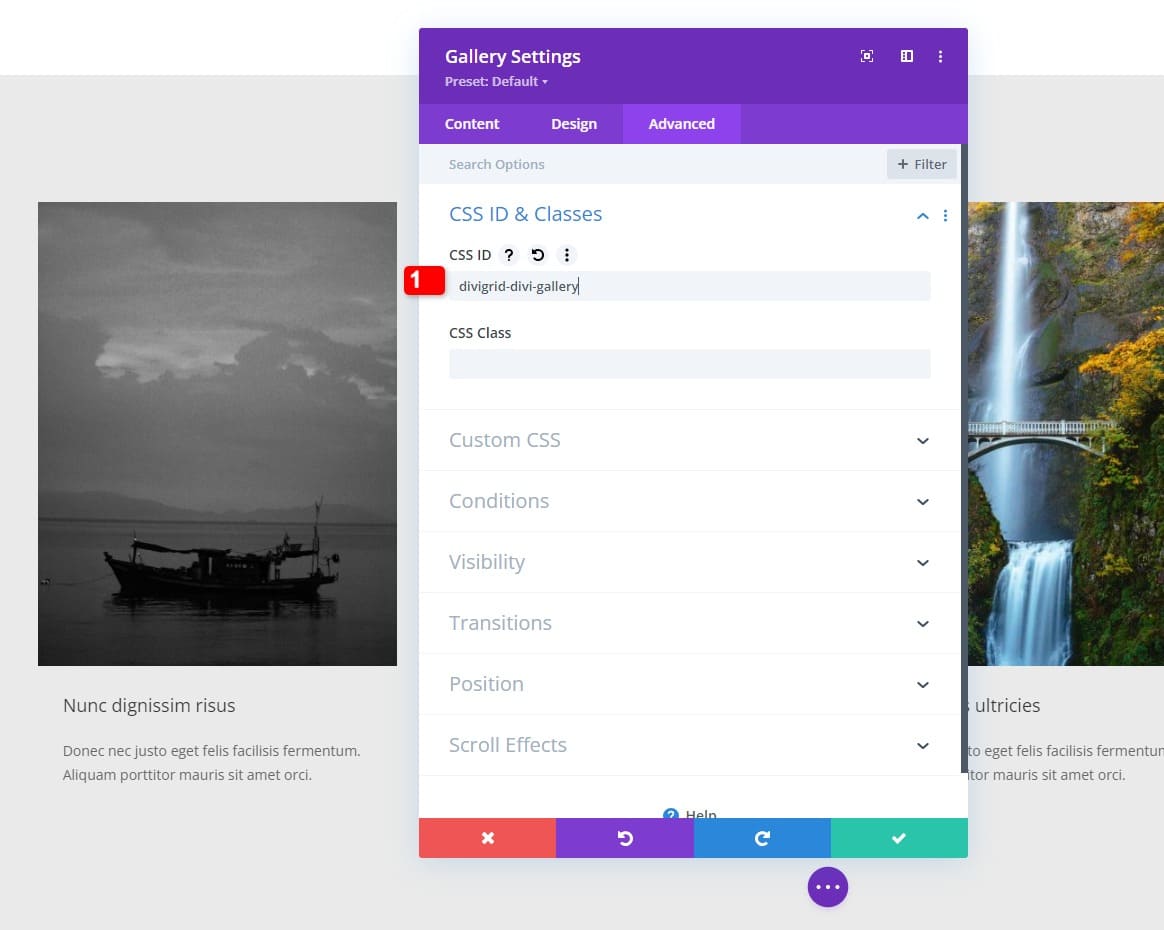
Add CSS ID to Gallery Module
Now that our design is in place, we can focus on a few necessary steps to create the reveal effect. The first thing we’ll do is add a CSS ID to our Gallery Module.
- CSS ID: divigrid-divi-gallery
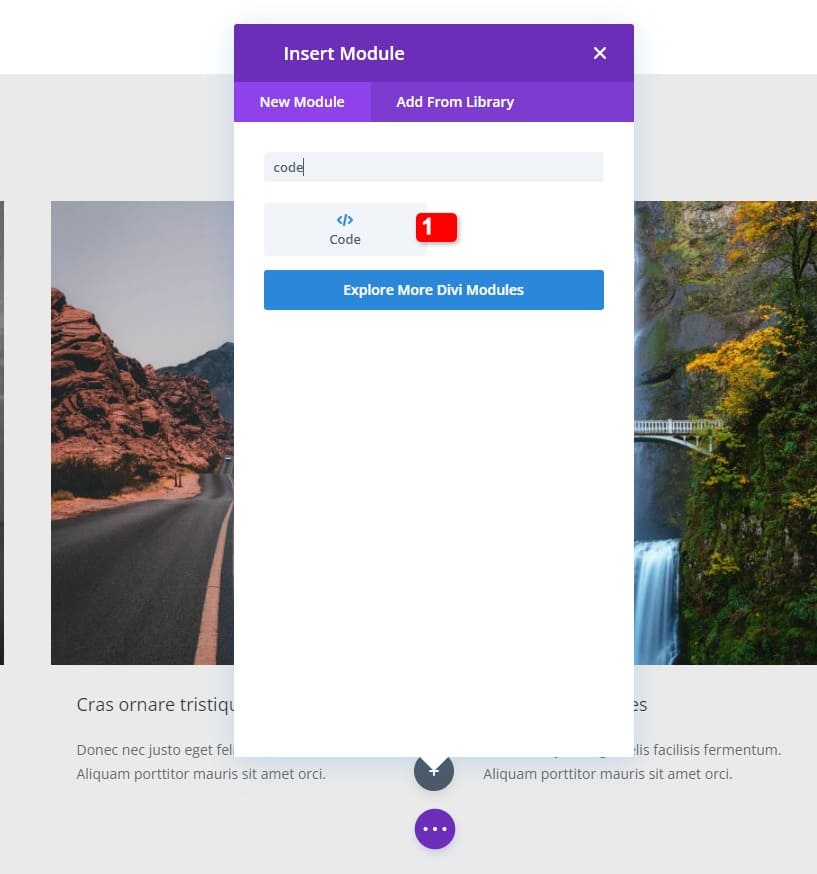
Add Code Module Below Gallery Module
Then, we’ll add a Code Module below the Gallery Module.
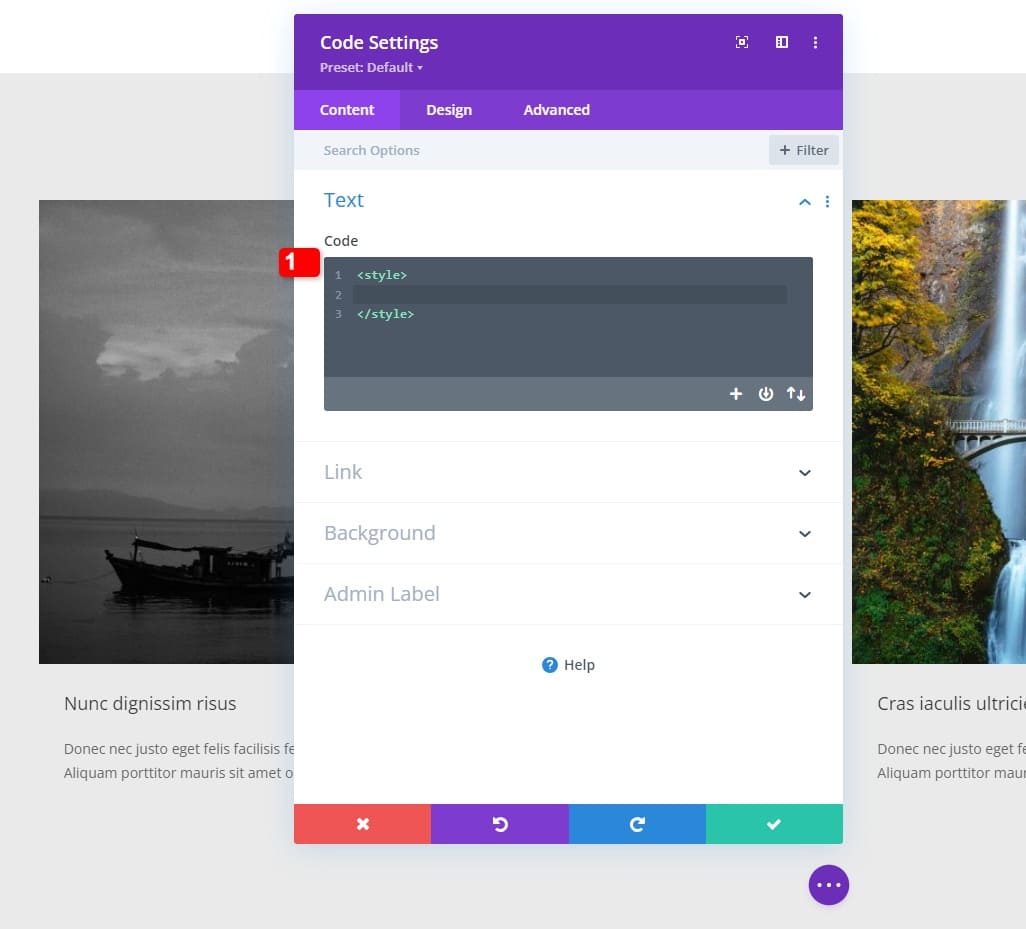
Add Style Tags
To create the effect, we’re going to use some CSS code. To prepare our Code Module for that code, we’ll place some style tags inside the code box.
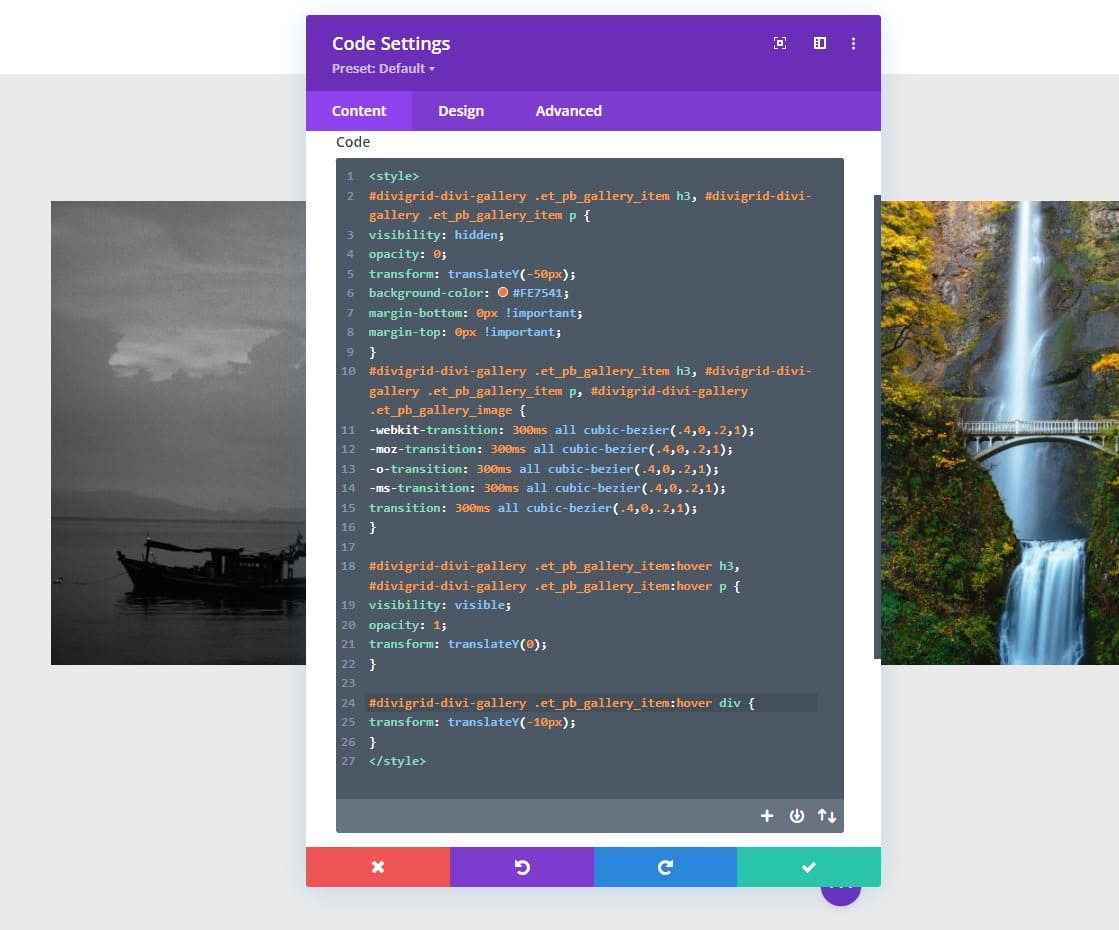
Insert CSS Code Between Style Tags
And we’ll copy-paste the following lines of CSS code between the style tags:
/#divigrid-divi-gallery .et_pb_gallery_item h3, #divigrid-divi-gallery .et_pb_gallery_item p {
visibility: hidden;
opacity: 0;
transform: translateY(-50px);
background-color: #FE7541;
margin-bottom: 0px !important;
margin-top: 0px !important;
}

#divigrid-divi-gallery .et_pb_gallery_item h3, #divigrid-divi-gallery .et_pb_gallery_item p, #divigrid-divi-gallery .et_pb_gallery_image {
-webkit-transition: 300ms all cubic-bezier(.4,0,.2,1);
-moz-transition: 300ms all cubic-bezier(.4,0,.2,1);
-o-transition: 300ms all cubic-bezier(.4,0,.2,1);
-ms-transition: 300ms all cubic-bezier(.4,0,.2,1);
transition: 300ms all cubic-bezier(.4,0,.2,1);
}

#divigrid-divi-gallery .et_pb_gallery_item:hover h3, #divigrid-divi-gallery .et_pb_gallery_item:hover p {
visibility: visible;
opacity: 1;
transform: translateY(0);
}

#divigrid-divi-gallery .et_pb_gallery_item:hover div {
transform: translateY(-10px);
}
That’s it! Save your page settings and exit the Visual Builder to view the outcome when you hover one of the gallery items.
Preview
Now that we’ve gone through all the steps, let’s take a final look at the outcome across different screen sizes.
Desktop
Mobile
Final Thoughts
In this post, we’ve shown you how to get creative with Divi’s built-in Gallery Module. More specifically, we’ve shown you how to slide-down reveal an image’s title and caption when hovering it on desktop. This helps you keep a visual design without displaying too much text at once. You were able to download the JSON file for free as well! If you have any questions or suggestions, feel free to leave a comment in the comment section below.
To learn more about Divi troubleshooting issues then please visit: Tips & Tricks
FROM DIVIGRID
More gallery options for Divi
DiviGrid includes gallery modules for Divi: the Masonry Gallery with category filters, a lightbox and 9 hover effects, and the Justified Gallery with equal-height rows.










0 Comments